A friend of mine loves her new Keurig coffee maker! But recently, it started making loud noises and her coffee would take, what felt like, forever to brew. That is not something you want when you are craving a cup of coffee.
She was getting ready to replace her beloved Keurig the descale light lit up. The solution was clear…she needed to descale her Keurig!
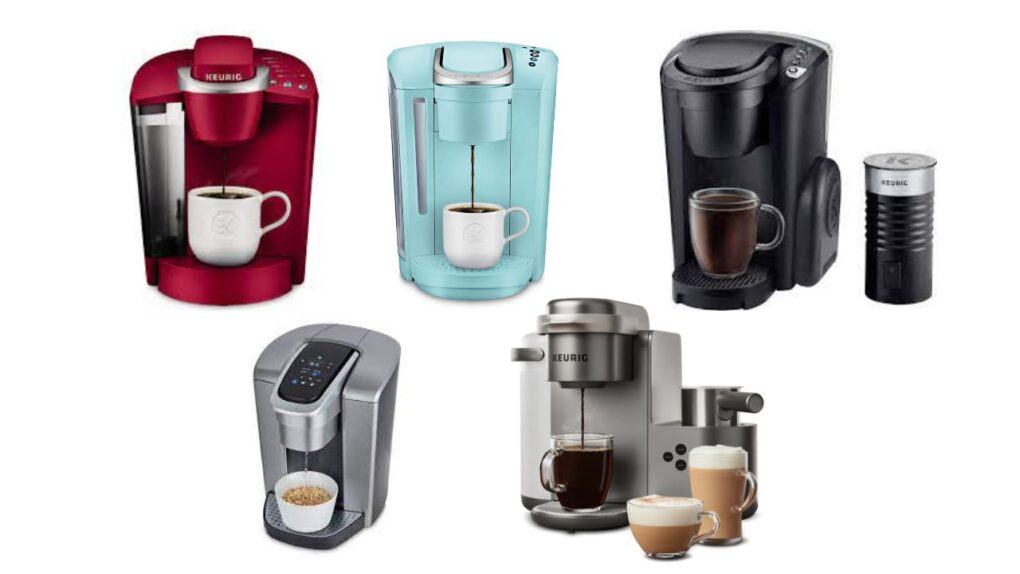
To make her life easier, and yours, I broke down the process of how to descale a Keurig into easy-to-follow directions. Not all Keurig models operate the same way so I made sure to include specific instructions.
What is descaling?
When water passes through your Keurig it will leave behind a layer of minerals like calcium and lime scale.
This will build up over time and you might notice that your Keurig starts making a lot of strange sounds or the brewing process starts taking longer, or your coffee isn’t very hot or tastes different.
The best way to prevent or fix performance issues like these is to regularly descale your Keurig through a simple rinsing process. It is best to descale your Keurig once every 3-6 months.
To start with you will need a few tools.
- A bottle of Descaling Solution
- Large ceramic mug (do not use a paper cup)
- Access to fresh water and a sink
- Drying towel and sponge
Options for Descaling Solution:
OPTION 1 – Keurig Descaling Solution(14fl. oz)

Keurig knows descaling is important so they make their own brand of descaling solution.
- Can be found almost anywhere you can buy a Keurig.
- Only 1 use per bottle (3 uses for K-Mini series brewers)
- It won’t void your warranty because it is made by the same company that makes your machine.
- Has a slight vinegar scent that could linger if you don’t rinse your machine thoroughly enough.
OPTION 2 – URNEX K-Cup & Coffee Maker Descaler (8fl. oz)

URNEX is a trusted brand and a top choice among baristas.
- Can be found at a good price on Amazon or at your local Walmart
- The bottles are smaller but you get at least 2 uses per bottle (6 if you have a K-Mini series brewer).
- Most likely won’t void your warranty because it is a professional-level product, but no guarantees.
- Claims to be biodegradable, more effective, faster working, and odorless
NOTE: A popular and accessible alternative to a descaling solution is White Vinegar.
White vinegar is made from acetic acid which can naturally dissolve mineral buildup and is often used for household cleaning.
It is effective at descaling, however, it has a strong scent that lingers and it could damage rubber parts in your machine.
How to Descale Your Keurig
STEP 1: PREPARE
- Turn off your Keurig.
- Empty the machine of all coffee and water
- Add the recommended amount of descaling solution to the water tank.
- Read the instructions on the bottle/box carefully.
- Add fresh water to the descaling solution, filling the tank to the MAX fill line. When in doubt, do equal parts water and descaling solution.
- Place a large ceramic mug on the drip tray
STEP 2: DESCALING RINSE
For the traditional brewers (K-Classic, K-Cafe, K-Cafe Special Edition, K-Latte, K-Elite, K-Compact, and K-select) and the SMART brewing series
- Simply turn on the Keurig
- lift and lower the handle
- select the largest size (if applicable)
- select BREW (if applicable).
For the K-Slim series, K-Supreme series, K-Express, and K-Express Essential brewers, you will need to activate the DESCALING MODE.
- Do this by first making sure your Keurig is plugged in but turned off.
- Press and hold down the 8oz & 12oz OR 6oz and 10oz buttons for 3 seconds or until the lights start flashing.
- When the DESCALING MODE is activated, you can start the brewing process by selecting either the middle button (10oz or 8oz option) or the BREW button depending on your model.
When it’s done, you should have a cup full of hot liquid. Empty this liquid into the sink and repeat the brewing process until the ADD WATER notification comes on.
STEP 3: WATER RINSE
- Let the Keurig sit for at least 30 minutes (still on).
- Dump whatever water is left in the tank and rinse it thoroughly. You don’t want any residue from the solution left, otherwise, your coffee might taste strange.
- Fill the tank to the MAX fill line with fresh water. Then place the mug back on the drip tray.
- Run the brewing cycle again with fresh water.
- Repeat this process 12 times or until the screen indicates that the descaling process is complete.
- Don’t forget to keep an eye on the water tank and refill it with fresh water as needed.
If you have a K-Duo series Brewer or a K-Mini series brewer the process is a little different.
K-Duo Series Brewers

STEP 1 – PREPARE
- Preparation is the same for all models.
STEP 2 – DESCALING RINSE
- Press the “OZ/POD” button to turn on the single cup side.
- Press the 12 button to start a single-cup brew and empty the mug into the sink when it’s done.
- With the carafe on the heating plate, press the “CUP/CARAFE” button to switch over to the carafe side of the brewer.
- Press the 12 button to start a 12-cup carafe brew. Once complete, empty the carafe into the sink.
- Press and hold the “CUP/CARAFE” button to turn off the heating plate.
- DO NOT REPEAT
STEP 3 – INTERNAL TANK SOAK
- Let the brewer stand for at least 30 minutes then empty out what remains in the water tank.
STEP 4 – FRESHWATER RINSE
- Fill the water tank with fresh water to the MAX fill line.
- Repeat STEP 2 with only fresh water (no descaling solution).
- Complete the process on the single brew side a total of 4 times and then do the same on the carafe side.
- Once complete, empty the cup and repeat the process 3 times for a total of 4 brews.
K-Mini and K-Mini Plus Brewers

STEP 1 – PREPARE
- Preparation is the same for all models. The only difference is you will use only ⅓ the amount of descaling solution in a K-Mini series brewer.
STEP 2 – CLEANSING RINSE
- Lift and lower the brewer handle to activate the brewing cycle (no coffee).
- Press the BREW button to start the process. When it’s finished dispensing, pour it out into the sink.
STEP 3 – INTERNAL TANK SOAK
- Refill the tank with the descaling solution and water. Activate the brewing cycle just like above.
- As soon as you hear the liquid dispense, turn off the Keurig and allow the solution to sit in the brewer for at least 30 minutes.
- Turn on the brewer again then lift and lower the handle.
- Press the BREW button and allow it to brew fully.
- Empty the hot liquid in the sink.
STEP 4 – FRESHWATER SOAK
- Empty the water tank and refill it with fresh water only, to the max line.
- Repeat STEP 2 with fresh water only.
- Refill the water tank with fresh water again and repeat STEP 3 with fresh water only.
To Wrap It Up
Now you know how to descale your Keurig! It can take some time and patience, but it is a small price to pay to make sure your Keurig continues to provide you with delicious coffee for as long as possible.